
I burned my tomatoes once. Not with fertilizer. With compost.
It was my second year gardening, and I was impatient. The pile had been sitting for maybe six weeks. It looked dark enough. It smelled fine. So I dug it into my beds, planted my starts, and watched them sulk for a month. The leaves yellowed. Growth stalled. My “finished” compost was still actively decomposing, and it was stealing nitrogen from my soil to finish the job.
That mistake taught me more than any book. Compost isn’t just “rotten stuff.” It’s a living process, and when you get it right, organic garden compost becomes the single best investment you can make in your soil.
This guide is everything I wish someone had told me back then.
Why Organic Garden Compost Matters
Soil isn’t dirt. Dirt is what’s left when soil dies.
Healthy soil teems with bacteria, fungi, protozoa, earthworms, and insects you’ll never see. Organic garden compost feeds that entire web. Synthetic fertilizers bypass it entirely. They deliver nitrogen, phosphorus, and potassium in soluble form, the plant takes what it needs, and the rest leaches away with the next rain.
Compost does something different. It improves soil structure so water infiltrates instead of running off. It holds moisture during drought. The EPA reports that compost use increases soil water-holding capacity and reduces erosion. That matters whether you’re growing tomatoes in raised beds or maintaining a half-acre plot.
Here’s what I’ve noticed after two decades: composted beds need less watering, fewer amendments, and less fuss. The soil stays crumbly. Weeds pull easier. Plants seem to shrug off heat stress better than they do in chemically-fed beds.
There’s also this: compost is free. Or nearly free. Your kitchen scraps, your leaves, your grass clippings. Stuff you’d otherwise throw away. You’re turning waste into soil. That never stops feeling good.
What “Organic” Actually Means in Composting
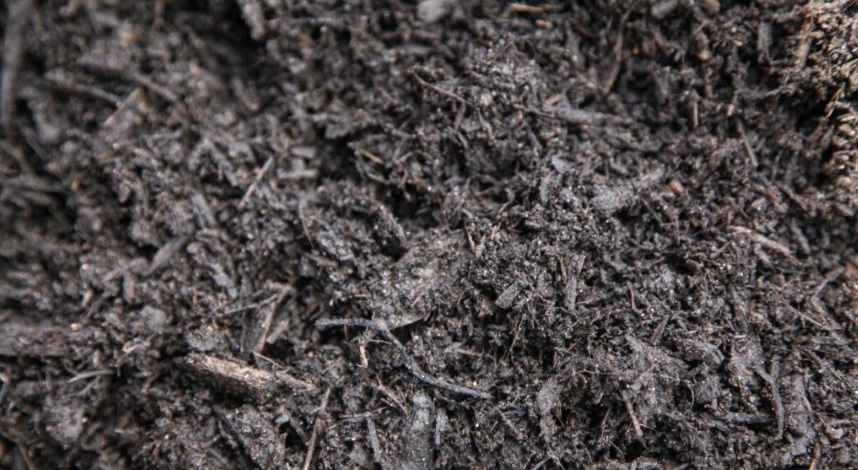
“Organic” gets tossed around loosely. In composting, it means you’re not adding anything that could contaminate your soil or your food.
That means no synthetic fertilizers, no pesticides, no herbicides. But it also means being careful about what you’re bringing in from outside.
The basics are obvious. Vegetable scraps, fruit peels, coffee grounds, eggshells, yard waste free of chemicals. Paper and cardboard, as long as they’re not glossy or coated with plastic tape.
The trickier ones trip people up.
Grass clippings. Only if you know they haven’t been treated with weed-and-feed or broadleaf herbicides. Those chemicals can persist through composting and damage your garden vegetables. I learned this the hard way when a neighbor’s clippings killed my pepper seedlings. Ask before you take.
Manure. Herbivore manure only. Cow, horse, rabbit, chicken. Never dog or cat waste, which can carry parasites that survive composting. Even with herbivore manure, hot composting is important if you’re using it on food crops. Chicken manure especially, since it’s high in nitrogen and can harbor pathogens.
Paper. Shredded newspaper, plain cardboard, paper towels, napkins. Skip the glossy stuff, the pizza boxes soaked in grease, and anything with plastic windows or tape.
What to keep out entirely: Meat, bones, dairy, oils, cooked foods. Not because they’re “unnatural,” but because they attract rodents and create odors that make neighbors complain. I’ve seen raccoons dismantle a poorly-managed pile in one night.
Browns vs. Greens: The Carbon-to-Nitrogen Ratio Explained Simply
Compost needs two things: carbon and nitrogen.
Browns are carbon. They’re dry, dead, and structural. Leaves, straw, cardboard, sawdust, twigs. They give the pile structure so air can move through it. They’re the skeleton.
Greens are nitrogen. They’re wet, fresh, and often smelly. Kitchen scraps, grass clippings, coffee grounds, fresh manure. They fuel the microbes that do the actual decomposing.
The magic number is roughly 25 to 30 parts carbon for every 1 part nitrogen. You don’t need a chemistry degree. Think in volumes.
Two to three buckets of browns for every bucket of greens. That’s the rule I use. It’s not exact. Leaves vary. Coffee grounds vary. But it gets you close.
Here’s what happens when you’re off:
Too much carbon: The pile sits there. Doesn’t heat up. Takes forever. That’s because the microbes have plenty of energy (carbon) but not enough protein-building material (nitrogen) to multiply fast.
Too much nitrogen: The pile stinks like ammonia. Gets slimy. Attracts flies. The nitrogen converts to ammonia gas and escapes. You lose nutrients and make enemies.
I keep a trash can of shredded leaves next to my bin all year. Every time I dump kitchen scraps, I cover them with a few handfuls. That one habit prevents most problems.
Choosing Your Method: Heap, Bin, Tumbler, Worm Farm, Bokashi
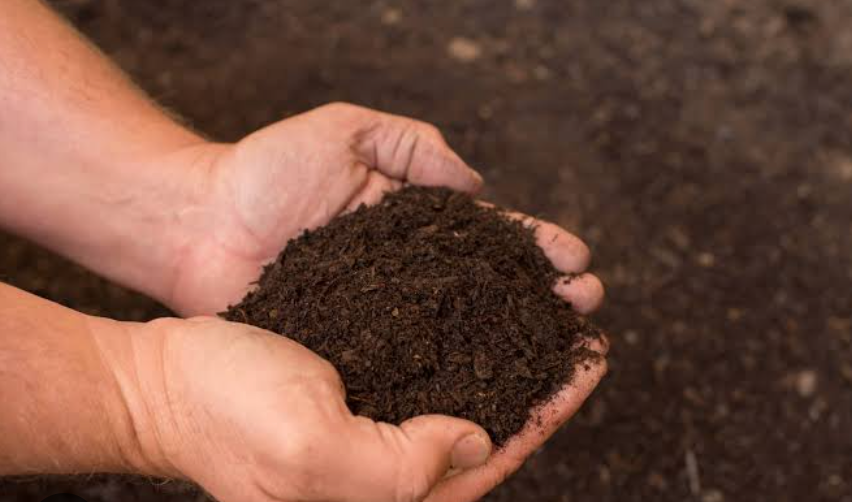
You have options. The right one depends on your space, your patience, and how much waste you generate.
The classic heap is a pile on the ground. No container, no cost. Just start layering in a corner of the yard. It works. Worms and beneficial insects move in from the soil below. But it’s slower than contained systems, and it looks messy. If you have space and don’t mind the aesthetic, it’s hard to beat free.
Compost bins are enclosed containers. Wire rings, wooden pallets, plastic bins with lids. They keep things tidier and deter pests better than open heaps. Turning is a bit more work because you can’t just fork the whole pile. But for suburban yards, they’re a good compromise.
Tumblers are the speed demons. You fill them, spin them every few days, and get compost in as little as six weeks. The tumbling aerates the material, which accelerates decomposition. Downsides: they’re more expensive, capacity is limited, and you can’t put them directly on soil, so worms don’t colonize them.
Worm farms (vermicomposting) use red wigglers to process kitchen scraps into castings. This is the Ferrari of compost. Castings are rich in nutrients and beneficial microbes. Worm farms work indoors or on a balcony. But worms are picky. Too hot, too cold, too wet, too dry, and they try to escape. They also don’t like citrus, onions, or garlic.
Bokashi is fermentation, not decomposition. You pack food scraps (including meat and dairy) into a sealed bucket with inoculated bran. It pickles the waste. Then you bury the fermented stuff in soil or add it to a compost pile to finish. Great for apartment dwellers. Requires buying bran regularly.
For beginners with a yard, I usually suggest starting with a simple bin or a three-bin system. It’s forgiving. You can learn the rhythm without much investment. If you’re working with limited space, read more about [internal: composting for beginners] to match the method to your situation.
Step-by-Step: Building Your First Organic Compost Pile
Let’s build one. This is how I do it.
Pick the spot. Good drainage, easy access year-round, near a water source if possible. Sun or shade both work, though sun helps in cool climates. Not right against a fence.
Gather your materials. You need a stockpile of browns before you start. Leaves are ideal. Shredded cardboard works. Straw if you have it. Then start saving kitchen scraps in a sealed container on the counter or in the freezer.
Chop the big stuff. Broccoli stalks, corn cobs, thick stems. Smaller pieces decompose faster. I keep a machete in the garage for this. Not necessary, but satisfying.
Build the base. Start with four to six inches of coarse browns: twigs, wood chips, small branches. This layer lets air circulate from below and absorbs excess liquid.
Layer like lasagna. Alternate greens and browns. Add a few inches of greens, then cover with several inches of browns. The browns should always be the top layer. This keeps odors down and flies away.
Moisten as you go. The pile should feel like a wrung-out sponge. Not dripping. Not bone dry. If you’re using dry leaves, water them as you layer.
Size matters. Aim for a pile at least 3 feet by 3 feet by 3 feet. Smaller piles struggle to heat up. Larger piles can’t get enough air to the center.
Cover it. A tarp holds in moisture and heat. Keeps rain from waterlogging it. Also keeps pests out.
That’s it. You’ve built a pile. Now comes the maintenance.
Maintaining the Pile: Moisture, Turning, Temperature, Timeline
Compost doesn’t need constant attention. But it does need some.
Moisture. Check by squeezing a handful. It should feel like a wrung-out sponge. If it drips, it’s too wet. Add browns. If it crumbles and falls apart, it’s too dry. Add water and turn.
Turning. This is where people differ. Some gardeners turn weekly. Some never turn. I’ve done both.
Turning aerates the pile, which speeds decomposition and prevents anaerobic (stinky) conditions. If you want compost in three months, turn every week or two. If you’re patient, turn once a month or not at all. It’ll still decompose. Just slower.
Temperature. A hot pile reaches 130°F to 160°F in the center. That heat kills weed seeds and pathogens. It also means the microbes are working fast. Stick a compost thermometer in the middle. If it’s not heating up, something’s off.
Don’t stress about temperature if you’re not in a hurry. Cold composting works. It just takes longer and doesn’t kill weed seeds.
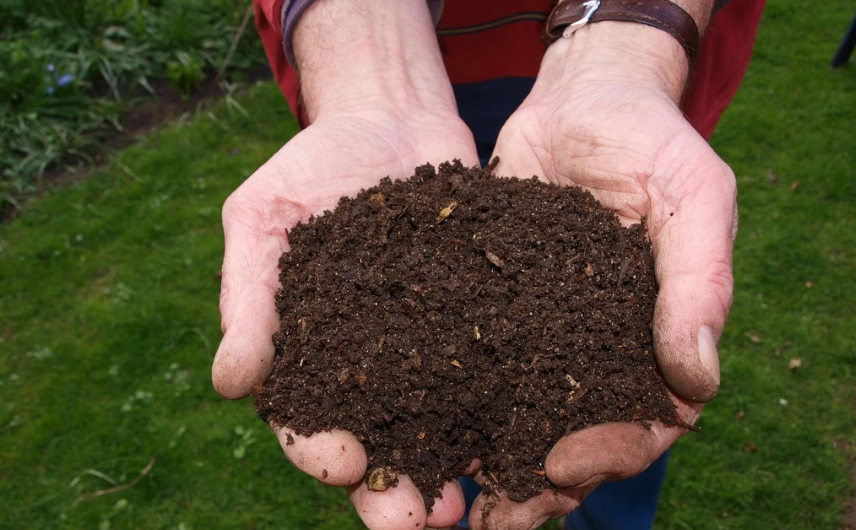
Timeline. Well-managed piles finish in three to five months. Untended piles might take a year. Finished compost is dark, crumbly, and smells like forest floor after rain. No visible food scraps. No recognizable leaves.
When it’s ready, let it cure for a few weeks before using. This “finishing” period lets the pile stabilize so it won’t burn your plants. That was my mistake with the tomatoes.
Troubleshooting Table: Common Compost Problems
Using Finished Compost in Your Garden
This is the payoff.
In vegetable beds. Spread one to three inches on top and work it into the top few inches of soil. Or just leave it as mulch. Worms will pull it down. Either works.
In containers. Mix compost with potting soil at roughly one part compost to three parts soil. Pure compost can be too rich for seedlings. I learned that the hard way too.
As mulch. Finished compost makes excellent mulch around perennials and shrubs. It suppresses weeds and feeds the soil slowly.
Compost tea. Steep finished compost in water for a day or two, strain, and use the liquid as a gentle foliar feed. It’s not a fertilizer replacement, but it adds beneficial microbes. Use it fresh. It goes anaerobic quickly if stored.
For transplants. A handful of compost in the planting hole gives starts a gentle boost without burning them.
Common Mistakes Beginners Make
Using immature compost. If it still looks like food scraps or smells sour, it’s not ready. Immature compost can rob nitrogen from your soil and damage plants. Patience.
Adding too many greens at once. That pile of grass clippings from one mowing? Mix it with leaves or spread it in thin layers. A solid mat of grass goes anaerobic.
Not enough browns. Browns are the unsung heroes. They prevent smells, maintain structure, and balance the chemistry. Keep a stash nearby.
Ignoring moisture. Dry piles don’t decompose. Wet piles rot. Check it with your hands.
Expecting perfection. Compost is forgiving. Even a neglected pile eventually breaks down. Don’t stress about exact ratios. Pay attention to smell and texture, and you’ll be fine.
FAQ: Organic Garden Compost
How long does it take to make compost?
A well-managed pile can finish in three to five months. Cold compost, left untended, may take six to twelve months. Tumblers can produce compost in six weeks with regular turning.
What is the best carbon-to-nitrogen ratio for compost?
Aim for about 25 to 30 parts carbon to 1 part nitrogen. In practice, mix two to three buckets of browns for every bucket of greens.
Can I compost in winter?
Yes, but it slows down. The pile won’t stay hot in freezing temperatures. Keep adding materials and turn occasionally. It’ll resume active decomposition in spring.
Why does my compost smell bad?
Bad smells mean anaerobic conditions. Usually too wet or not enough air. Turn the pile and add dry brown materials like leaves or cardboard.
Can I compost weeds?
Only if your pile gets hot enough to kill weed seeds (140°F or higher). Otherwise, weed seeds survive and you’ll spread them everywhere you use the compost.
What can’t I put in organic compost?
Meat, bones, dairy, oils, pet waste, treated wood, and anything contaminated with pesticides or herbicides. These attract pests, create odors, or introduce contaminants.
How do I know when compost is finished?
It’s dark, crumbly, and smells earthy. No recognizable food scraps or leaves. It doesn’t heat up anymore when you turn it.
Conclusion
Organic garden compost changed how I garden.
Not overnight. Not dramatically. But year after year, my soil got darker. Easier to work. Better at holding water. Plants seemed healthier with less intervention.
The process itself is simple. Browns, greens, water, air. Pay attention. Adjust when something’s off. The pile teaches you.
Start small. A bin in the corner. A bucket of kitchen scraps. A bag of leaves. You’ll make mistakes. I did. You’ll figure it out.
Your soil will thank you.
FAQ Schema Questions (5)
Q1: How long does it take to make compost?
A well-managed compost pile can finish in three to five months. Cold compost left untended may take six to twelve months. Tumblers can produce finished compost in about six weeks with regular turning.
Q2: What is the best browns to greens ratio for compost?
Aim for roughly two to three parts browns (carbon-rich materials like leaves) to one part greens (nitrogen-rich materials like kitchen scraps) by volume. This approximates the ideal 25-30:1 carbon-to-nitrogen ratio.
Q3: Why does my compost smell like ammonia?
Ammonia smell indicates too much nitrogen in the pile. Add carbon-rich brown materials such as dry leaves, straw, or shredded cardboard and turn the pile to restore balance.
Q4: Can I put weeds in my compost?
Only if your compost pile reaches temperatures of 140°F or higher, which kills most weed seeds. In cold compost piles, weed seeds survive and can spread throughout your garden when you use the finished compost.
Q5: What is finished compost supposed to look like?
Finished compost is dark, crumbly, and smells earthy like forest floor after rain. It contains no recognizable food scraps or leaves, and the pile no longer heats up after turning.
1 thought on “Organic Garden Compost: A Complete Guide for Home Gardeners”