Disclosure: As an Amazon Associate, I earn from qualifying purchases. This post contains affiliate links, which means I may receive a commission if you click a link and purchase something I have recommended. This comes at no extra cost to you and helps support the site. Thank you!
Look at that empty corner in your backyard. Now, look at that $100+ compost tumbler online. Feel that familiar tug? The one where your heart wants to do the right thing for the garden, but your wallet is screaming “maybe next month”?
What if I told you that empty corner could be a thriving compost factory by this afternoon? And it could cost you less than a decent bag of potting mix, maybe even nothing at all.
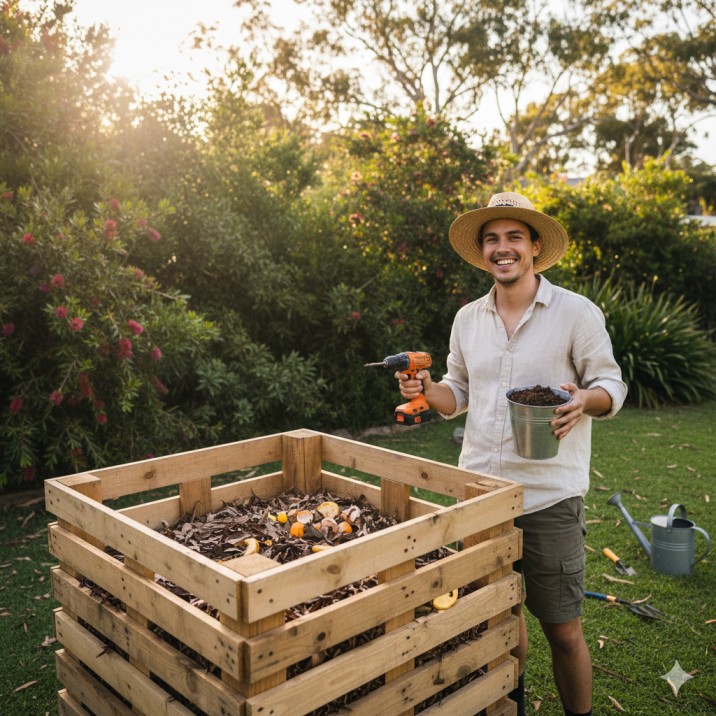
I’ve been there. I spent good money on a fancy composter that cracked in the Adelaide sun. Frustrated, I dragged a couple of free pallets from behind the local hardware store, screwed them together, and threw in my kitchen scraps. It wasn’t pretty. But six months later, I was shovelling out the richest, blackest soil I’d ever seen. That ugly pallet bin taught me the best lesson I’ve learned in gardening: the most effective tools are often the simplest, and you don’t need to be a carpenter to build them.
This guide is your ticket to that same freedom. We’re going to walk through five proven DIY compost bin Australia projects. From a build that takes 10 minutes with a wheelie bin to a proper three-bay system for the serious gardener. Each one is cheap, effective, and designed for real Australian conditions, our sun, our rain, and our unique mix of garden waste.
Forget complicated plans. Grab your drill, and let’s turn that “maybe” into “done.”
Table of Contents
Why Building Your Own DIY Compost Bin Australia is a Game-Changer
Before we pick up a tool, let’s talk about the “why.” Sure, you can buy a bin. But building your own DIY compost bin Australia style comes with unbeatable perks.
First, it’s a massive money-saver. The core of a great compost bin is just a container that holds organic matter and lets air in. You’re paying for marketing and plastic when you buy new. A homemade version from pallets or a repurposed bin can cost as little as the price of a few screws, or literally nothing if you scavenge well.
Second, you build for YOUR exact spot. Got a narrow side passage? Build a slim bin. Have a big family that generates lots of food scraps? Build a monster three-bay system. This custom fit is something no store-bought bin can offer.
Finally, it’s deeply, personally satisfying. There’s a unique pride in eating vegetables grown in soil you made, in a bin you built with your own hands. It closes the loop in the most tangible way possible.
If you’re new to the whole composting process, the principles of what goes inside the bin are universal. Our Australian Composting Guide covers all the basics to get you started right.
The 3 Unbreakable Rules for Any DIY Compost Bin Australia
No matter which project you choose, your bin must follow three non-negotiable rules to work effectively.
1. Size is Critical for Heat. Your compost pile needs mass to “cook.” Aim for a minimum of 1 cubic metre (1m wide x 1m deep x 1m tall). A pile this size generates its own heat, breaking down scraps quickly and killing weed seeds.
2. Airflow is Not Optional. Decomposition is done by aerobic microbes, they need oxygen. Your design must include ventilation. This means gaps, holes, or an open design to let the pile breathe.
3. You Must Access the Good Stuff. A great bin lets you easily add scraps, turn the pile for aeration, and crucially, harvest the finished compost from the bottom. A removable front panel or lid is essential.
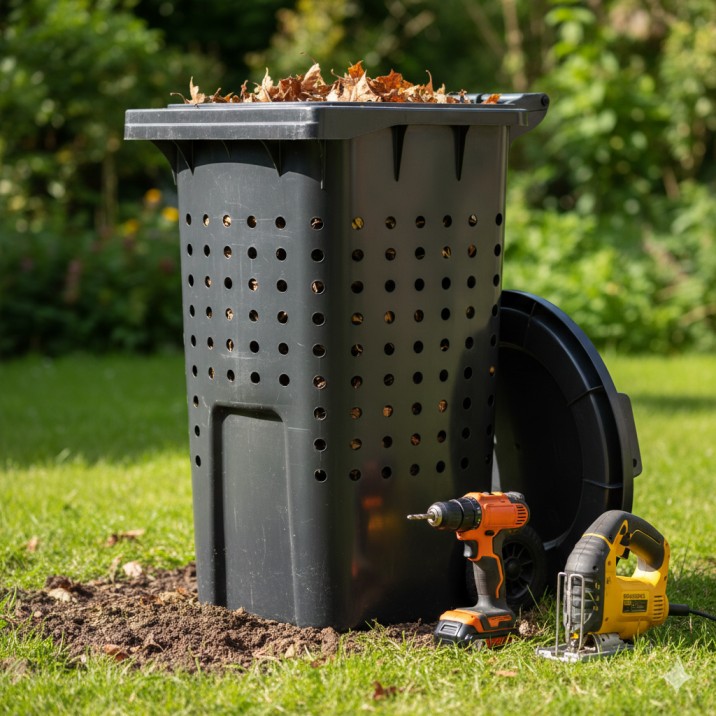
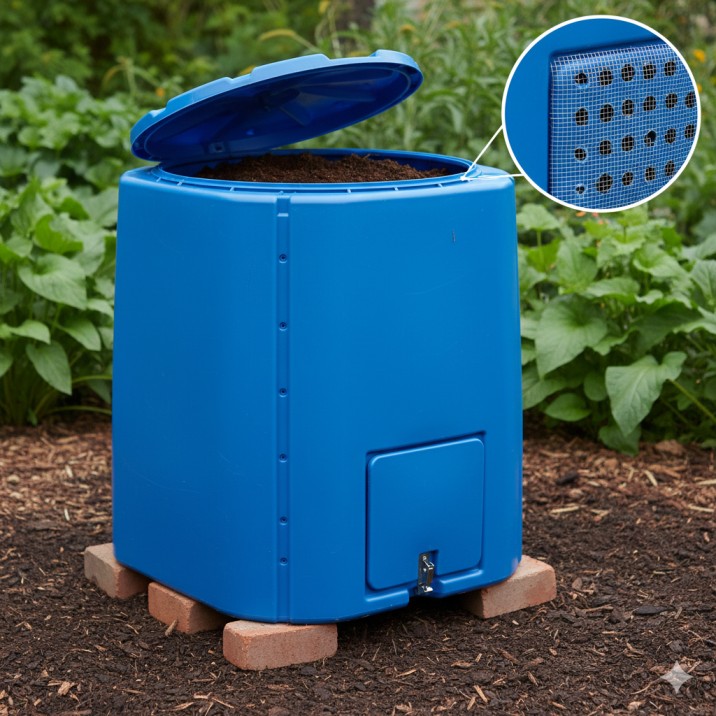
Project 1: The 10-Minute “Wheelie Bin” Hack (For Renters & Beginners)
Cost: $0 – $30 | Time: 10-20 minutes | Skill: None
This is the perfect “toe in the water” DIY compost bin Australia project. It’s discreet, cheap, and great for small spaces or renters.
What You’ll Need:
- A 240L black plastic wheelie bin (with a lid). Check council clean-up piles or online marketplaces, people often give away spares!
- A power drill with a 10-12mm drill bit.
- A jigsaw or sharp utility knife (optional, but recommended).
The Step-by-Step Build:
- Create a Breathable Body: Lay the bin on its side. Using your drill, make holes every 10-15cm all over the bin, sides, back, and even the lid. These holes are your ventilation system, letting oxygen in and gases out.
- The Secret Step for Speed: Flip the bin upside down. Using a jigsaw or a strong utility knife, carefully cut the entire bottom out of the bin. This is a game-changer. It lets worms, insects, and microbes migrate up from the soil into your compost, supercharging the process.
- Place It: Position your bin directly on bare soil or lawn in a semi-shaded spot. The open bottom contact with the earth is key.
How It Works & Tips:
Start layering your kitchen scraps (“greens”) with dry leaves or shredded paper (“browns”). Every few weeks, simply roll the closed bin on its side on the grass and kick it a few times to mix the contents, no fork needed! To harvest, you can tip it over or scoop the beautiful finished compost from the bottom layer.
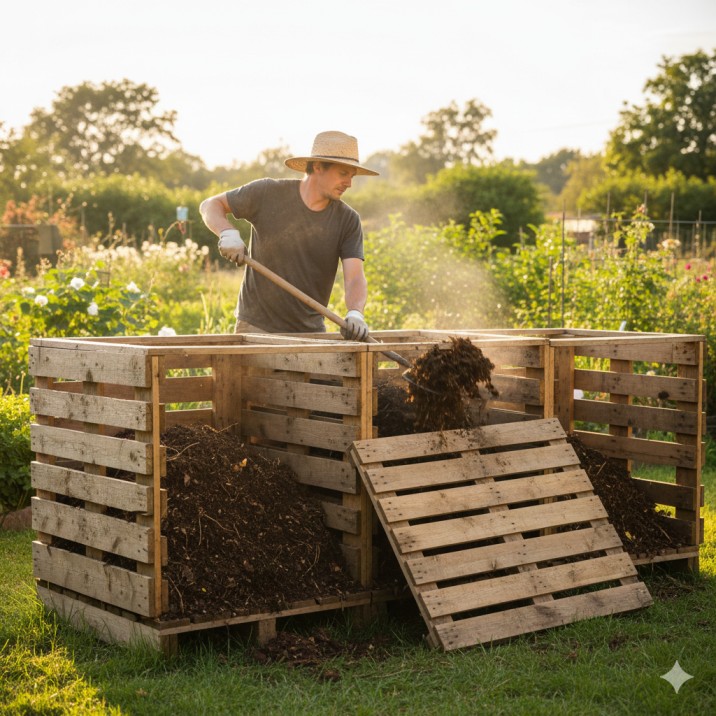
Project 2: The Classic “Timber Pallet” Bin (The Free Backyard Workhorse)
Cost: $0 – $20 | Time: 30-60 minutes | Skill: Basic
This is the iconic DIY compost bin Australia build. It’s robust, has perfect airflow, and handles large volumes of garden waste.
What You’ll Need:
- 4 untreated timber pallets. Look for the “HT” (Heat Treated) stamp, not “MB” (Methyl Bromide). Check Bunnings’ free pile, Facebook Marketplace, or ask at local shops.
- Galvanised screws (75mm) or heavy-duty cable ties.
- A drill/driver or screwdriver.
- A hammer, some old cardboard, and a staple gun (optional for lining).
The Step-by-Step Build:
- Prep Your Site: Choose a level, well-drained spot on bare earth.
- Build the Three Walls: Stand three pallets on their long edges to form a “U” shape. Screw or tightly cable-tie the corners together where they meet for stability.
- Create the Removable Front: The fourth pallet is your access door. You can simply lean it in place, or for a tidier finish, attach it with two heavy-duty hooks and eyes at the top so it swings open.
- Line It (The Pro Tip): Staple sheets of flattened cardboard or old hessian sacks to the inside of the pallets. This helps retain vital moisture and heat, especially in our hotter, drier regions, while still allowing air through the gaps.
This bin is the perfect companion for general backyard composting Australia. Its open-slat design provides unbeatable aeration, which is crucial for fast breakdown.
Project 3: The “IBC Tote” Conversion (The Heavy-Duty Champion)
Cost: $50 – $100 | Time: 1-2 hours | Skill: Intermediate
For the gardener with serious volume, a converted IBC tote is a beast. It’s fully enclosed, pest-proof, and holds a massive amount.
⚠️ CRITICAL SAFETY NOTE: You MUST use a food-grade IBC that previously contained something non-toxic (e.g., fruit juice, vinegar, cooking oils). Never use one that held chemicals, fuels, or industrial products.
What You’ll Need:
- One clean, food-grade IBC tote (cage and plastic cube).
- An angle grinder or jigsaw (with fine-tooth metal/plastic blades).
- Safety gear: Gloves, eye protection, ear protection.
- Wire mesh, heavy-duty staples, and a latch/hook.
The Step-by-Step Build:
- Cut the Lid: Measure 30-40cm down from the top of the plastic liner. Use your grinder to cut along this line, removing the top section. This becomes your lid. You can leave it attached at the back with the cage as a hinge.
- Cut a Harvesting Hatch: On one side, near the bottom, cut out a 30cm x 30cm square door. Leave the top edge uncut to act as a hinge. Install a simple latch to keep it closed.
- Add Ventilation: Cut several 10cm x 10cm squares out of the sides near the top. Cover these openings securely with wire mesh (staple or glue it) to keep flies and rodents out while letting air circulate.
- Elevate: Place the entire unit on bricks or timber sleepers to improve airflow underneath and prevent bottom rot.
This DIY compost bin Australia project creates a professional-grade system that will last for years and is excellent for hotter, drier climates where moisture retention is key.
Project 4: The “Three-Bay” System (For the Dedicated Gardener)
Cost: $0 – $100 | Time: A weekend | Skill: Confident Beginner
This is the dream system. It allows for continuous composting: one bay to fill, one bay cooking, and one bay full of finished compost ready to use.
What You’ll Need:
- 9-12 timber pallets OR 18-24 treated pine sleepers (90cm tall).
- Galvanised screws (100mm) and brackets.
- Hinges and latches for front panels.
- A level.
The Step-by-Step Build:
- Build the Frame: Construct three identical bays side-by-side. For each bay, you need a back, two sides, and a removable front. Using pallets, you’d screw them together at the corners. With sleepers, you’ll build a framed box for each.
- Create Smart Fronts: Build a slatted front panel for each bay from leftover pallet wood or sleepers. Attach them with hinges at the top so they swing down like a stable door, or make them completely removable with hooks. This makes turning and harvesting a breeze.
- Add a Roof (Highly Recommended): A simple pitched roof made from corrugated plastic or iron on timber battens will keep excess winter rain out and prevent the pile from getting too soggy.
Managing this system is a joy. You can find more advanced tips for turning and maintaining larger volumes in our Composting & Waste resource section.
Project 5: The “Stackable Worm Hotel” (For Balconies & Tiny Spaces)
Cost: $20 – $40 | Time: 45 minutes | Skill: Basic
No garden? No problem. This DIY compost bin Australia project is a worm farm (vermicomposter) you can build for your balcony, patio, or even a shady spot indoors.
What You’ll Need:
- 2-3 identical, stackable plastic storage tubs with lids (approx. 60L each).
- A power drill with 8mm and 4mm bits.
- A small plastic tap (from a hardware or brewing store).
- A box cutter.
The Step-by-Step Build:
- The Bottom Tub (Liquid Collector): Drill a hole just big enough for the tap thread near the base of one tub. Fit the tap tightly with a washer. This collects nutrient-rich “worm tea.”
- The Working Tubs (Worm Living Space): Take 1 or 2 more tubs. These will hold the worms and bedding. Drill dozens of 8mm holes in the bottom for drainage. Drill a ring of 4mm air holes around the top rim, just under the lid ridge.
- The Top Tub (The Kitchen): This is where you add food. Drill plenty of 4mm air holes in the lid itself.
- Stack & Start: Place a working tub inside the liquid collector tub. Add moist bedding (shredded newspaper + coir brick) and your composting worms (get Tiger Worms!). Place the “kitchen” tub on top. Elevate the whole stack on bricks so you can access the tap.
For a complete guide to feeding and caring for your new wriggly workforce, our dedicated article on worm farm for beginners Australia is your next stop.
What to Feed Your New DIY Compost Bin Australia
You’ve built it. Now, let’s get it cooking! Remember the 1:1 rule from our guide on composting kitchen waste Australia.
The “Yes, Please!” List:
- Greens (Nitrogen): Fruit/veggie scraps, coffee grounds, fresh grass clippings.
- Browns (Carbon): Dry leaves, straw, shredded cardboard (egg cartons, toilet rolls), untreated paper.
The “Absolutely Not” List:
- Meat, fish, bones, or dairy (attracts pests).
- Oily, greasy foods.
- Diseased plants or perennial weeds (like couch grass).
- Dog or cat faeces.
DIY Compost Bin Australia: Your FAQ Answered
Q: Which design is best for a very hot, dry climate?
A: The IBC Tote or a lined Timber Pallet bin are excellent. They retain crucial moisture better than open designs. Always site them in dappled shade, not full sun, and use a thick layer of straw on top as a “mulch blanket.”
Q: Will a homemade pallet bin attract rats?
A: It can, if you put the wrong things in it (like meat or bread). Stick to plant-based scraps, always cover new food waste with a layer of browns or soil, and consider stapling chicken wire to the inside if rodents are a known issue in your area.
Q: How long until I get usable compost?
A: In a well-maintained, sizeable bin (like the pallet or IBC), with regular turning, you can have compost in 3-4 months. In a small, unturned wheelie bin, it may take 6-12 months. A worm farm produces harvestable castings in 2-3 months.
Q: Can I paint or treat the wood on my pallet bin?
A: Avoid chemical treatments that could leach into your compost and then your garden. If you want to preserve the wood, use a plant-based oil like linseed oil on the outside only. Never treat the inside wood.
Q: My compost is wet, smelly, and full of flies. What did I do wrong?
A: This is almost always due to overfeeding with kitchen scraps and not adding enough browns. Stop adding greens, mix in a whole lot of shredded cardboard or dry leaves, and turn it to add air. Cover the surface completely.
Your Next Step: Build It This Weekend
The hardest part is starting. So, pick one project. The Wheelie Bin hack is literally a 10-minute commitment. Go find that bin in the shed or behind the garage.
The satisfaction of building something functional with your hands, of turning waste into wealth, and of growing food in your own homemade soil is unmatched. It’s the very heart of a Sustainable Aussie Backyard.
Don’t aim for perfect. Aim for done. Then, start feeding your new bin. Your garden’s transformation begins with that first scoop of coffee grounds.
3 thoughts on “The Ultimate 5 DIY Compost Bin Australia Builds for Under $50”